
‘You only need to see, feel and act from the heart. Let the heart guide you to your peaceful enlightenment’. – (from the movie) Kung Fu Panda
Baking with sheer pleasure
It seems like ages ago, the time when I found absolute joy in baking. The idea of baking seemed so exciting, purely based on novelty, because back then baking still wasn’t a part of cooking the regular meals in most Indian households. Cakes, for celebrating occasions like birthdays, were only bought from stores. I loved being able to make a happy moment special by baking (a cake). As my hunger to learn more about this art thrived, I found myself reading several blogs, clipping recipes from magazines, buying cookbooks, all in an attempt to improve my baking skills, to learn other baking techniques and trying different things apart from cakes.
The smiles on the faces of loved ones as they walk into a room engulfed with the heady aroma wafting out of the oven. The happiness reflecting in their eyes, something that if it could be put into words it would express the gratitude they felt on realizing that I would take the trouble of going an extra mile, to give from the bottom of my heart and let them know they mean a lot to me. Baking was heartfelt. Like a personal handmade card, however imperfect, giving away signs of amateurish craftsmanship, but enveloped with immense love. That joy gave me a high.
Along the way, I discovered blogging. There were so many blogs that I was learning from, I wanted to share the lessons I learnt, as well. So that someone, somewhere may not make the mistakes I did, that they may be inspired to try something new, and partly for me to document my journey.
The Lull
But slowly, numbers occupied the thoughts which were once only reserved for ideas. Disappointment crept in when I felt ‘left behind’. Those that started after me were far ahead now. Inspiration for ideas turned into an ugly competition analysis. I was angry with myself for not doing enough when others posted every week. I consoled myself in the most pathetic manner of justifying that others had ‘benefits’ that I did not. Support, either to take pictures or style, while I am here all by myself, baking, writing, taking pictures, juggling a full time job and a social life. These thoughts were exhausting, it drained out all my enthusiasm which also led to not feeling motivated enough to even attempt anything new.
Moment of Epiphany
All this only reinstated how my blog just wasn’t where it was supposed to be. But where am I/ my blog supposed to be? For a person blogging with ‘x’ number of years, what does the growth chart look like? Monetizing the blog? Growing in number of followers? Expanding horizons to x, y, z other things related to baking? Yes, but who defines all this for me? Why?
I respect bloggers, whose sheer hard work has helped them scale and achieve things for themselves. But I was wrong to compete or compare myself to them or try to walk in their path. To be well known/ established like other renowned bloggers is not the reason I started baking or blogging. We may be in the same genre of the blogging world but we are different, our vision and mission for our blogs are different, our ideas and circumstances are different. The only way to move forward is to leverage our strengths and stay true to our purpose, to ourselves.
I am where I am meant to be. I still have everything on my side, the advantages in fact even more than that I once had, in my happily baking and blogging phase. I have drowned out the noise that distracts me and zoned out of the things that don’t matter to me. I am no longer in a race to chase numbers or beat myself up for not making it to any awards list. I have decided to stay true to my purpose and let things fall in place. For me, rediscovering my passion is success. Getting myself together and blogging again is an achievement. Sharing a recipe worth inspiring you to bake/cook is an accomplishment.
Today, as I bake, I am happy to try out something new. I am happy to linger on in the moment with hands covered in flour. I feel the supple dough ready to be transformed. The house is filled with the aroma of bread again. My thoughts float towards thinking of his reaction when he returns home. I hope he likes it too.
I have written this to serve as a reminder to myself, lest I forget the joy of baking.
P.S: I didn’t know ‘slow blogging’ was a thing until I found these articles. If you enjoy the thrill of being under constant pressure and do not agree with this, it’s ok. Maybe that’s what drives you. We need not all fall in the same category, right?
Slow blogging for creatives by Jen CarringtonSlow blogging for creatives by Jen Carrington
Slow blogging and Simple living by Dan Erickson
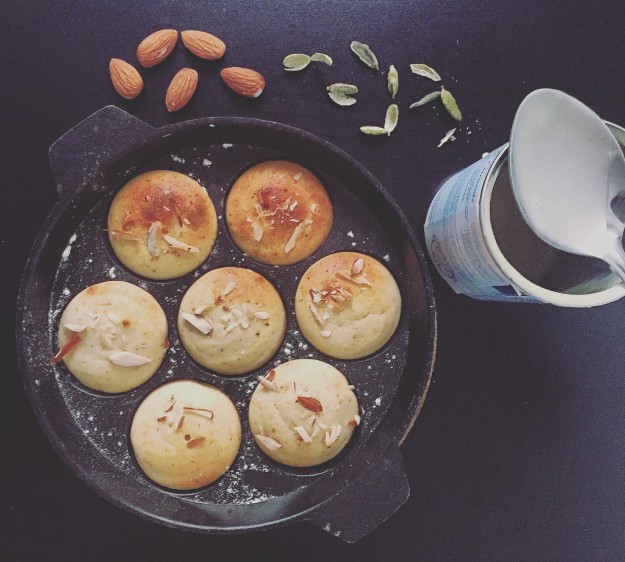
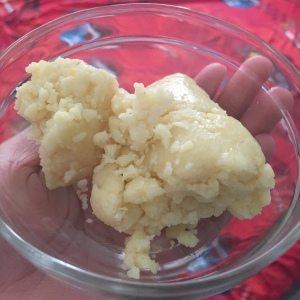
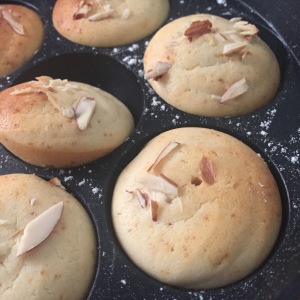

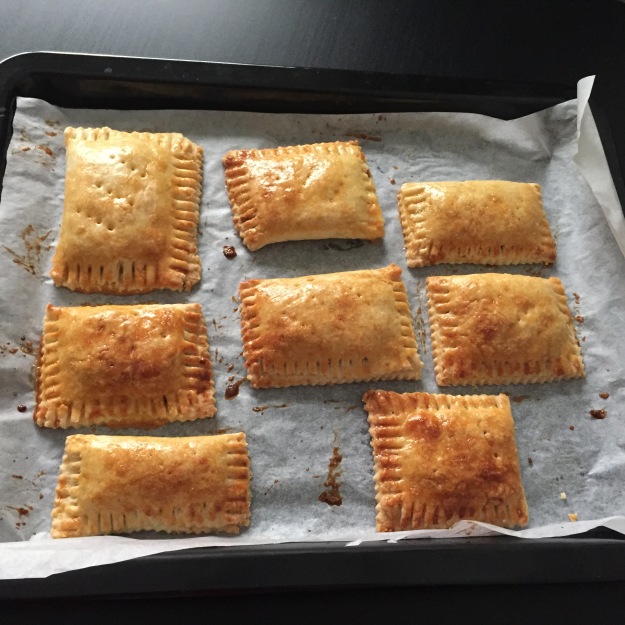
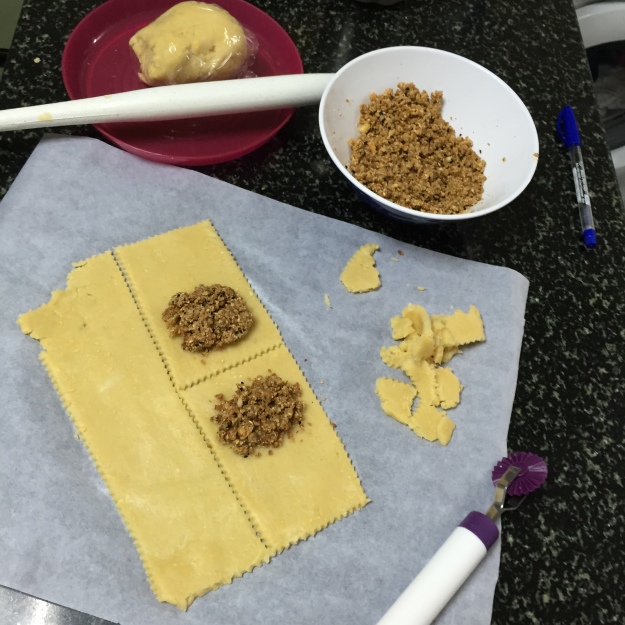
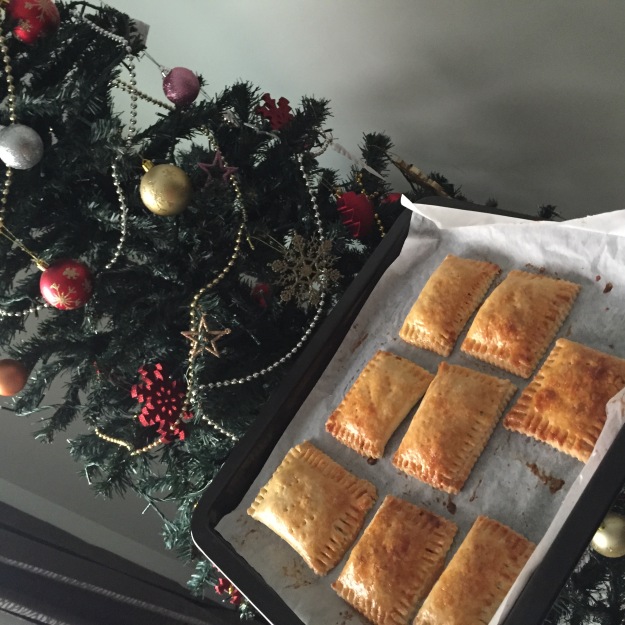


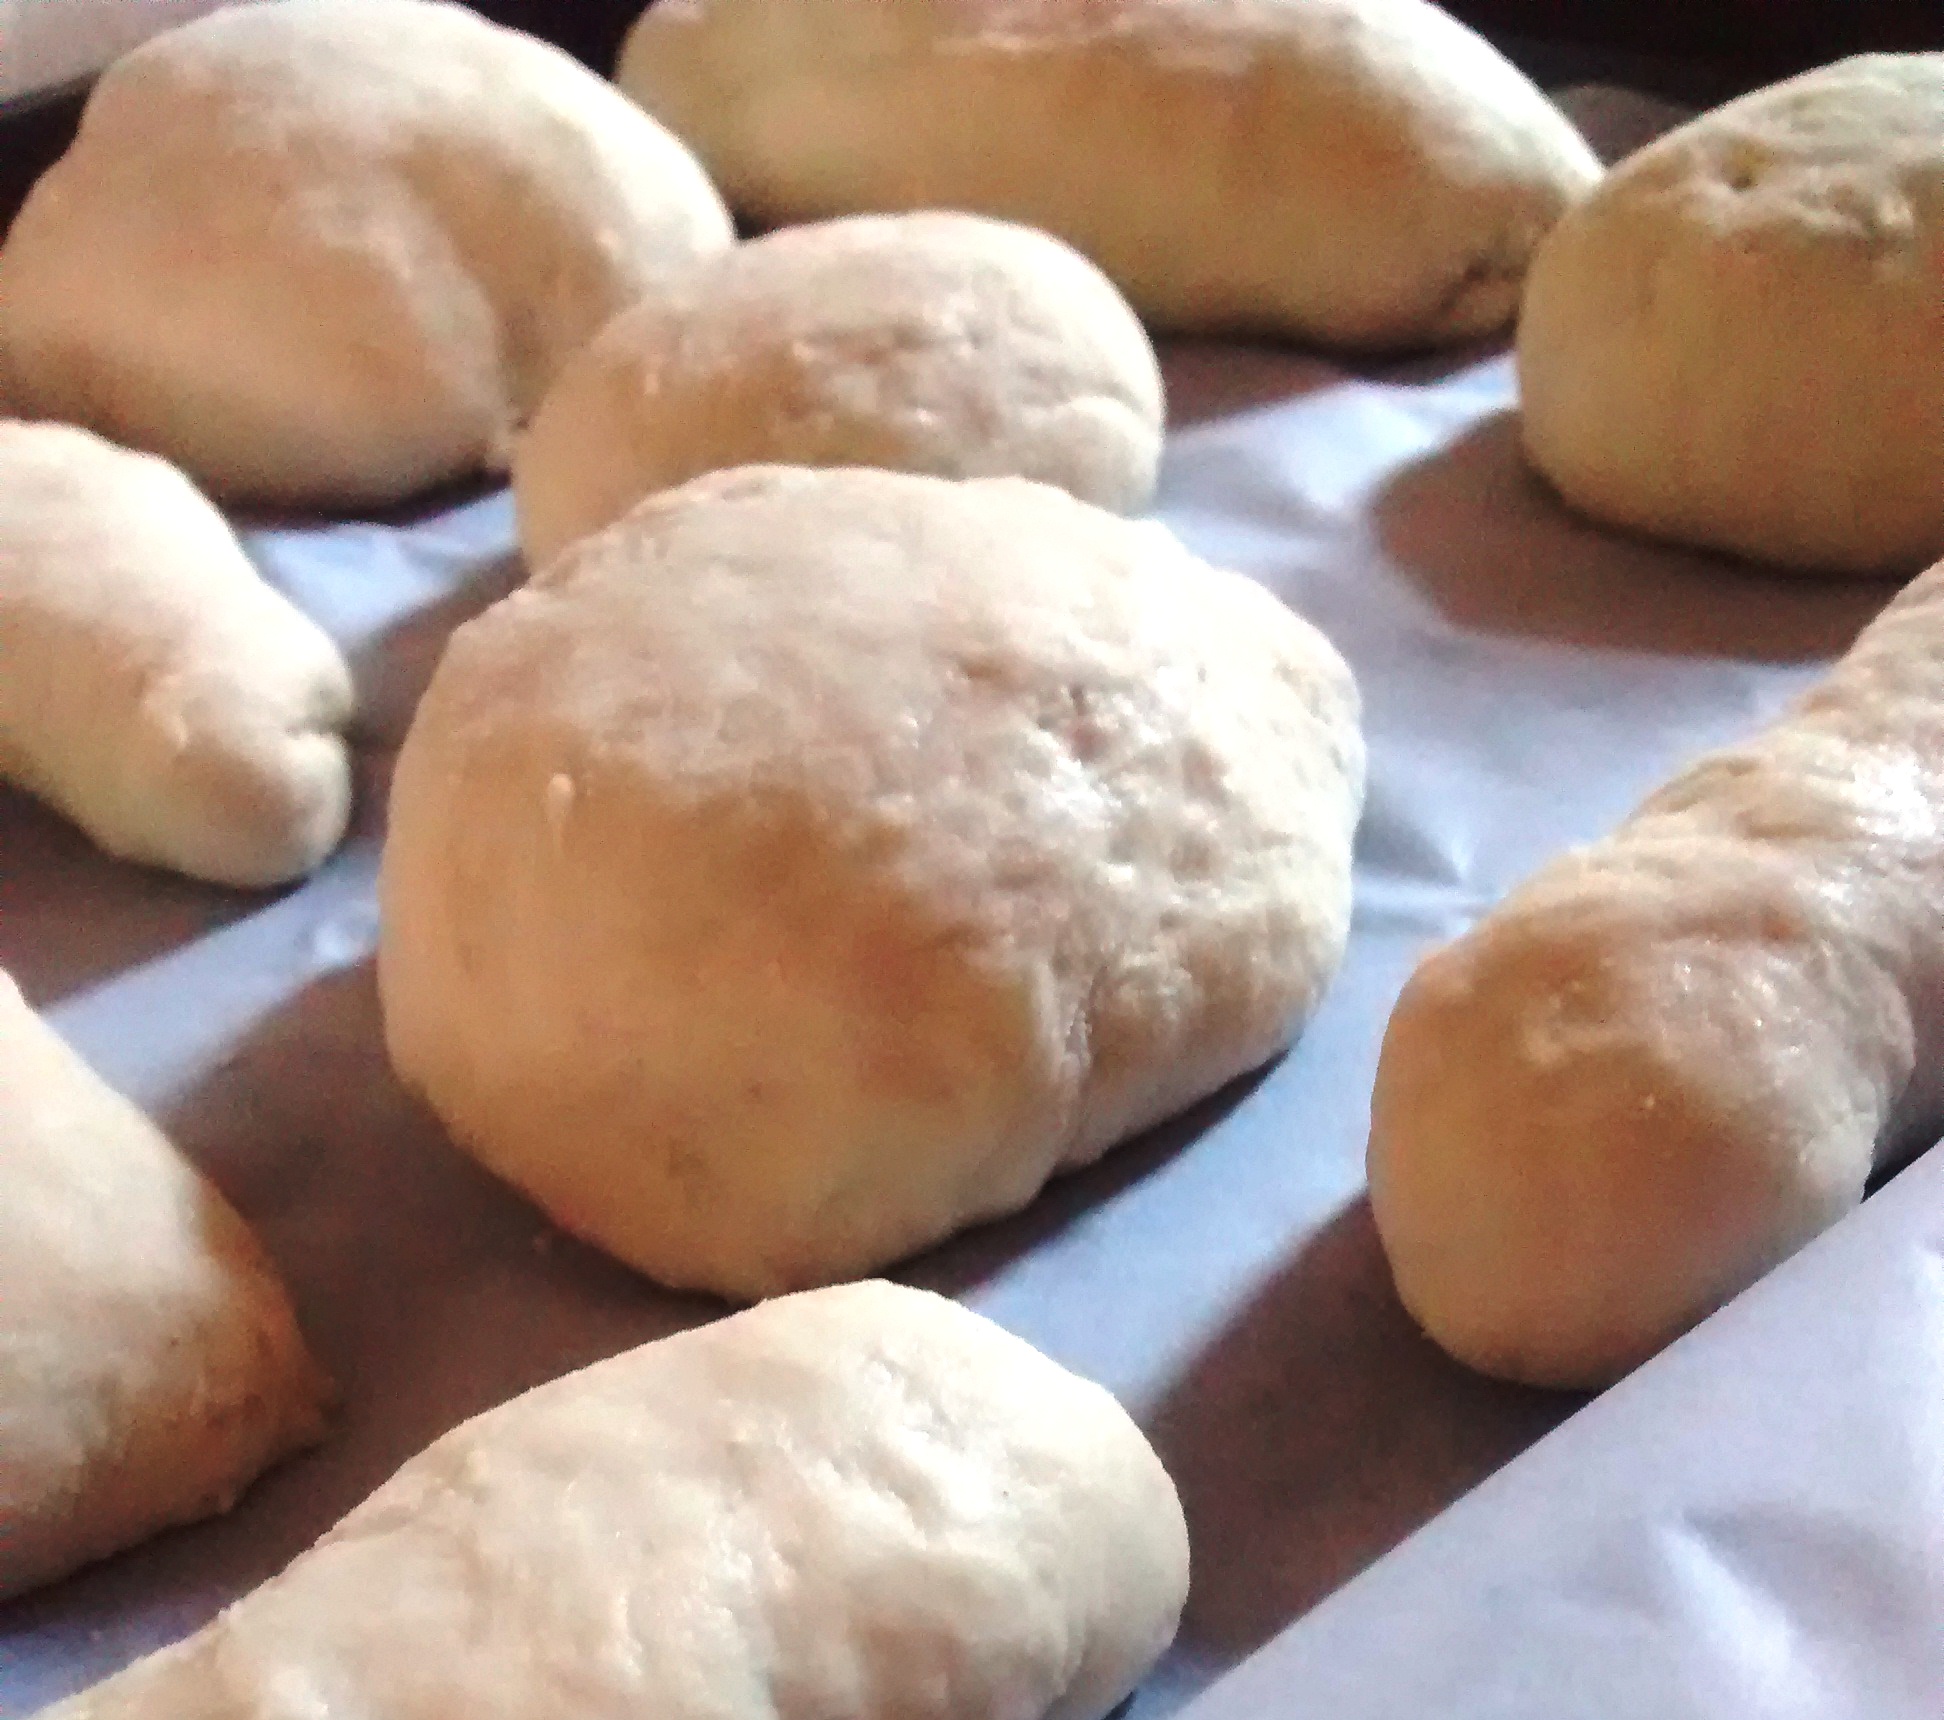

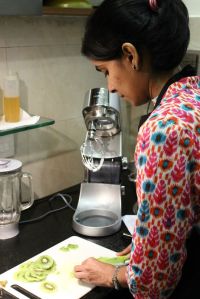
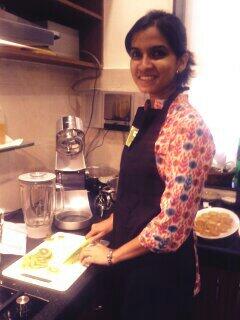

 Image credit: Shanti Padukone


